Saturday, 28 January 2012

Finishing up the Napolean's Hat and Starting to Zip up the Framehead Closing Panel

Here we have the rear view of the Napolean's Hat with the repairs done, welds ground down and a coat of zinc rich primer over the top.


And again from the front.


With the chassis turned over you can now clearly see how the framehead closing panel was cut and how the replacement framehead was attached to the chassis spine. I also gave the inside of the Napolean's hat and chassis spine a coat of zinc rich primer after making sure no rust was left.


Here we have the other framehead closing panel, cut to match the part already in place on the framehead, all rust removed using a wire brush on an angle grinder, and coated in zinc rich primer. The small holes you can see are where the original sport welds were drilled out. These holes will be used to plug weld this panel back in place.


Trial fitting the closing panel in place for fit & alignment and also to check if any other repairs are needed. Doing this revealed that the ends, where the main chassis bolts pass through, were not as good as I hoped so I decided to make further repairs at this stage. The white marking on the lower right side was to highlight a dent in the panel. This was dressed out from the other side before the panel was welded in place.

Sunday, 22 January 2012

The Napolean's Hat- The other side


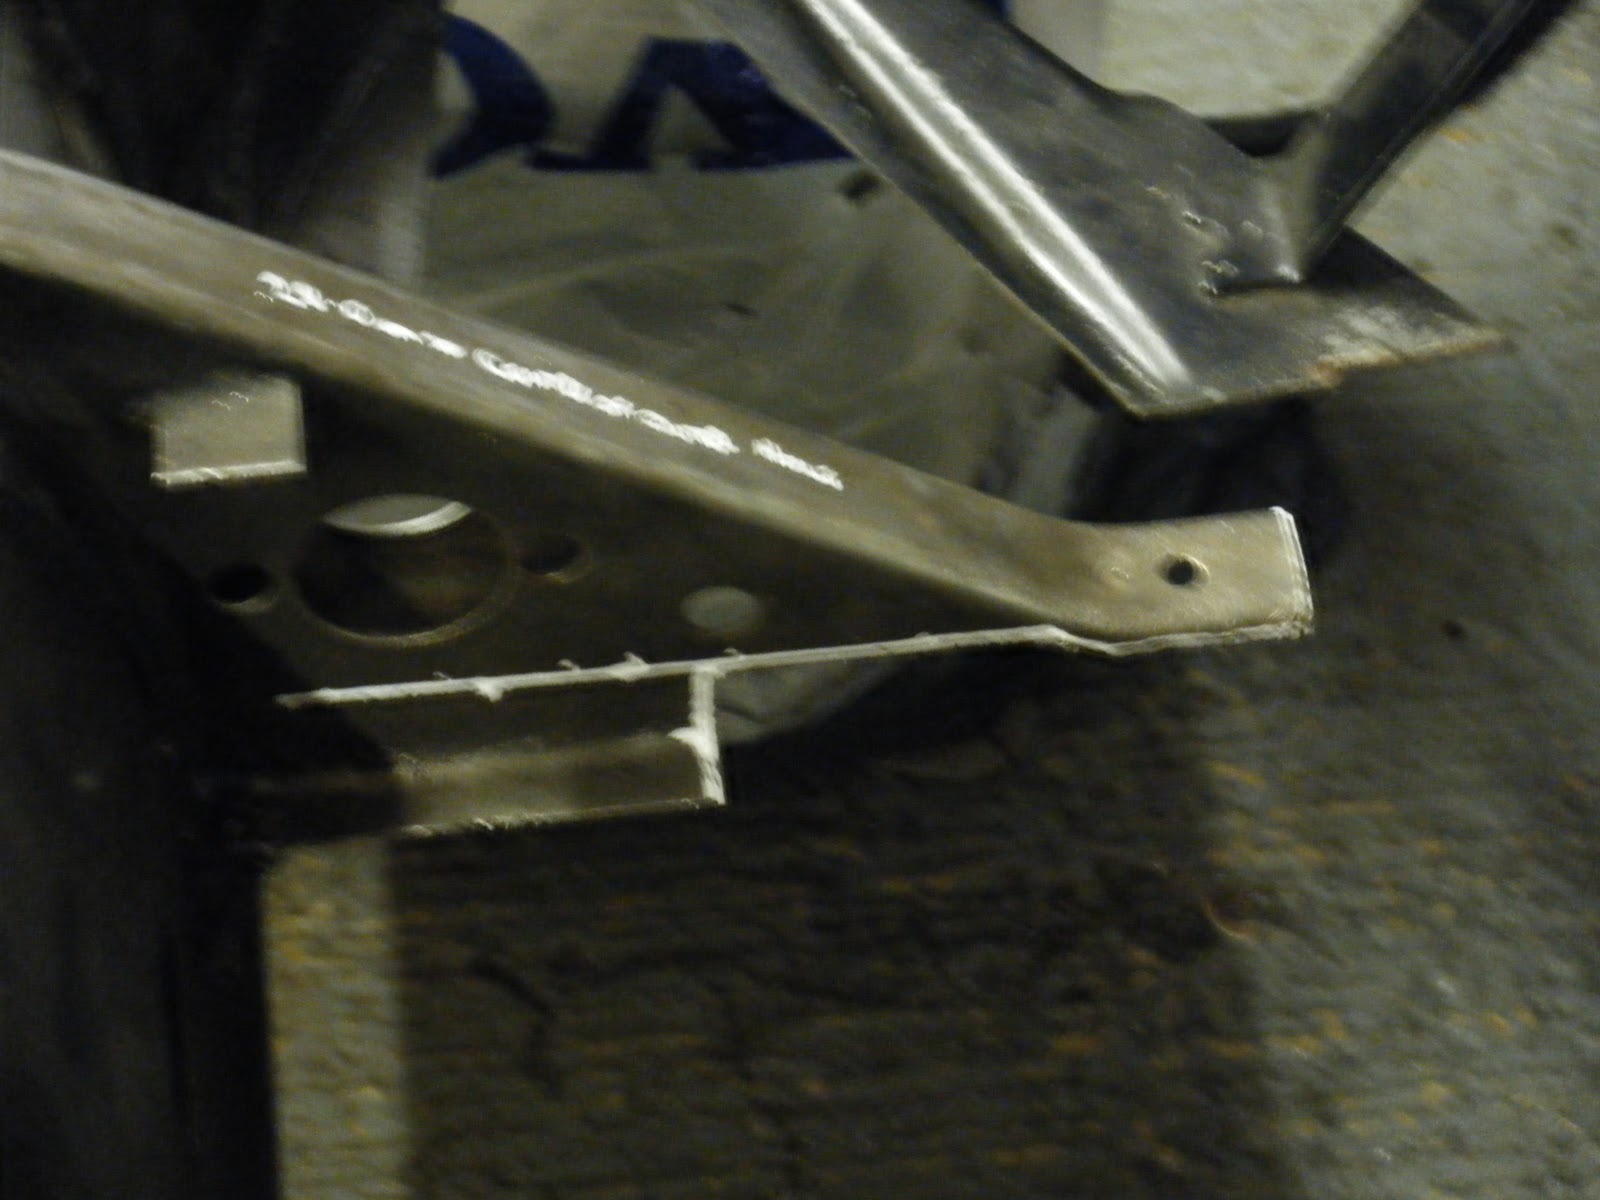
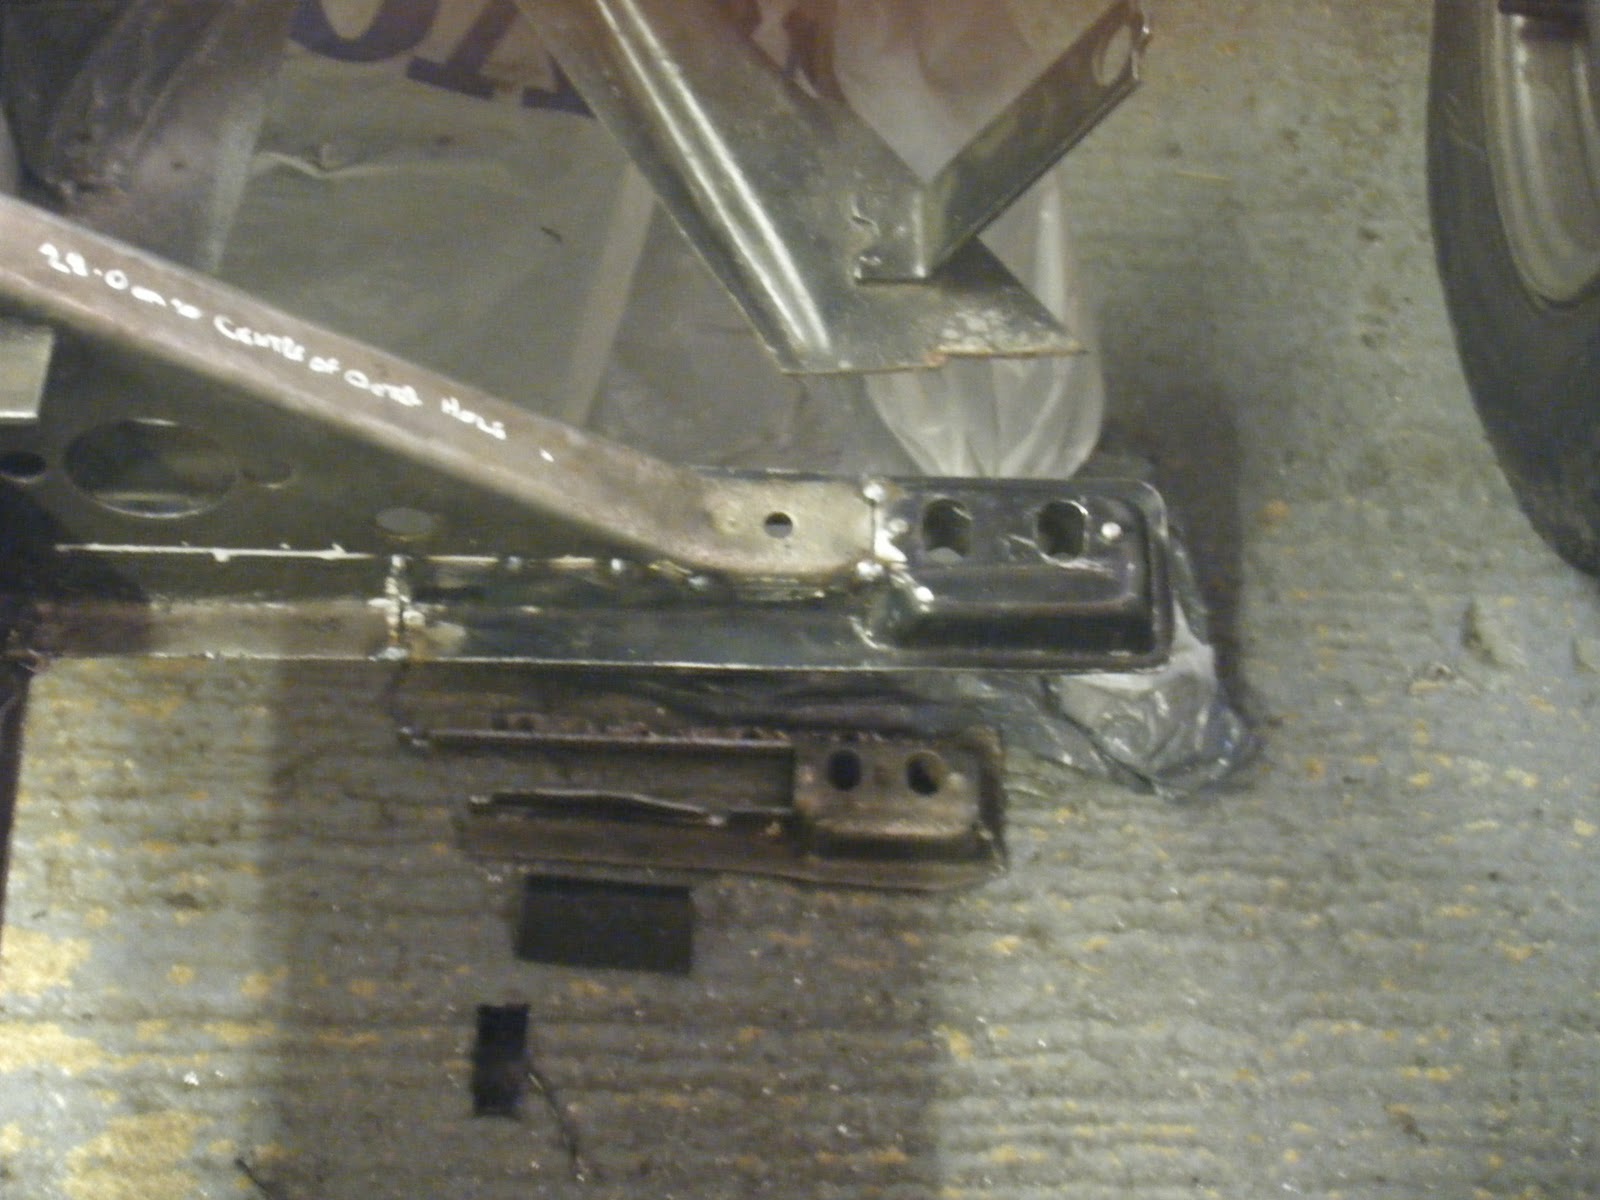
With the left side welded the same process was carried out on the right side. In these two pictures you can see the extent of the removed metal (sorry for the less than ideal quality pictures, I think I must have been shaking a bit!). Also again note the way the framehead closing panel was cut to leave the original pressings intact whilst getting rid of the rot.


Repair panel cut and tacked in place from the back, once correctly aligned using the other new panels. This time the edge of the repair panel also needed some dressing as the quality of the pressing was not great Underneath you can see the original, corroded end of the Napolean's Hat...


...and the front.


Again this was then cleaned up and fully mig welded.

Saturday, 14 January 2012

The Napolean's Hat- Repairs

From the last pictures you can see that the "Napolean's hat" panel needed some work. It was badly corroded at both ends and also along the joining point with the floor pans and framehead closing panel. Rather than replace the whole thing with a not particularly great pattern part, I decided to use only the parts of the pattern panel absolutely necessary. These bits would be cut out and welded to the original panel where needed, so leaving as much of the original as possible.


Here you can see the major rusted area, roughly cut out on the left side. Sat on top of the chassis spine is the part of the repair panel that will be used. It's worth noting that the repair panel is for a LHD car so has holes pressed out in places the original RHD part does not. In particular there is one hole that you can see in this picture. I'm not sure what to do with the hole at the moment, either weld it up or leave it and close it off using a grommet. I've left it pending a decision later on. In this picture you can also see the replacement framehead fitted and welded on, together with the remnants of the closing panel. As I mentioned before this was cut so that I removed the worst of the corrosion but was able to leave the original pressings and brake hose brackets intact.


Picture showing the front edge of the left side cut to the final point. Strangely the front edge, which is more exposed to the elements, was in better condition that the other side, so needed less original metal removing. Again you can also see the framehead closing panel.


Once the original panel was trimmed back to the marked lines, the repair panel was trimmed bit by bit until a good fit and alignmant was achieved. To make sure the alignment was spot on I temporarily laid the replacement floor pan panel, the replacement heater channel and the replacement front bulkhead panel in place. Here you can see the repair panel finally in place from the rear and prior cleaning up and welding.


And here from the front.


Next step was to weld it on after again ensuring alignment was spot on.

Sunday, 8 January 2012

One step back- Some earlier pictures I've just found

Work continues but I've just found some earlier pictures of the chassis I'll be using in the condition it was originally. The floorpans had been partially removed so I had to get rid of the remaining bits. You can also see how corroded it was. An angle grinder with a wire brush fitted soon took care of that.


This last picture shows the condition of the original framehead and the reason why I wanted to change it. It was very badly pitted and corroded and would not have come up to the standard I was after for the car.


Sunday, 1 January 2012

The Chassis Spine- Decisions

Here's the chassis I'll be using. Underneath is the lower closing panel removed (re. spot welds drilled out) from the other chassis.


As you can see I cut out a section at the rear. This is because the chassis must have been jacked up using this point at some time and was pushed in. I thought I might be able to remove the smaller dents and pop it back out but it was going to be easier to make a repair panel out of the donor chassis. Once I'd got this section cut out it was apparent that the majority of the closing panel was quite rusted. Whilst not to the point it would need scrapping, I didn't want any rust left so I needed to come up with a way to access this panel all the way along from inside the tunnel.

To do this I thought about removing the whole lower section of the chassis and replacing it complete but, having taken this panel from the donor, it was impractical. The donor chassis had lost a massive amount of torsional rigidity and doing this to the chassis I was going to use was likely to cause misalignment issues later on.

I decided instead to removed another section and then make removable covers for both holes that were left. This would give me enough torsional rigidity whilst I was working on the car, and any lost would eventually be replaced as the car is to get a full race cage. It would also enable me to easily replace any necessary pipes in the tunnel and locate some component there later on.

Second panel marked out...


...and cut.

Tuesday, 27 December 2011

The work begins- Rear Suspension & The Framehead

Starting with two Beetle chassis, one with a V5 but with a framehead and spine closing panel that were not in great condition, and another without V5 but with good panels, I decided to use one to repair the other (note this involved drilling out literally hundreds of original spot welds...not the most enjoyable job ever!).

First job though was to get the swing axle pan converted to independent rear suspension. For this I farmed the job out to Paul Venners to be absolutely sure everything was correctly aligned. He also tweeked the angle of the IRS brackets to allow for a raised transmission that I had planned.


Unfortunately I didn't take any pictures of the removal and replacement of the framehead but I managed to do this without cuting the spine, as is the norm when using the repair panels that are available new. I'll post some pictures showing the end result a little later and when I go into repairing the Napolean's hat. Instead I removed the framehead closing panel and the cut away the factory welds so that the framehead slipped off the spine. Obviously this had to be done twice, once for the chassis I would be using and once for the repair clip, making sure I was left with a framehead that could be used and also making sure I had the necessary closing panels to zip everything back up. It wasn't an easy job but the result was worth the effort. Having bought a repro closing panel I took an early decision not to use it due to the quality of the pressing which was not remotely like the original. Instead I would rely on being left with enough original German metal to do the job.

Obviously once I'd got the old framehead off next job was to clean things up and slip the replacement on, making sure it was square to the spine. It was then welded in the same areas as the factory.

Sunday, 18 December 2011

Hello to the new...

That was around 3 years ago...
After two rounds of redundancies at work, one house move and parts collecting in the interim, I was ready to start.

Some of the parts stash:


The base car is a 70's beetle (and an ex drag car that some might recognise from UK, VW forums) and this time, rather than a full tube chassis, I'll be using a Beetle floorpan. Initially this was only going to be a race car, but the plan developed very quickly and the intention is that is will also be road legal (with the option of a race or road engine). The overall plan and style is in my head and has not changed in the three years I've been collecting parts so I'm confident it is right for me. Rather than spill the beans now I'll keep the plan to myself and you can see it develop as the build progresses.