Monday, 27 August 2012

What lies beneath?

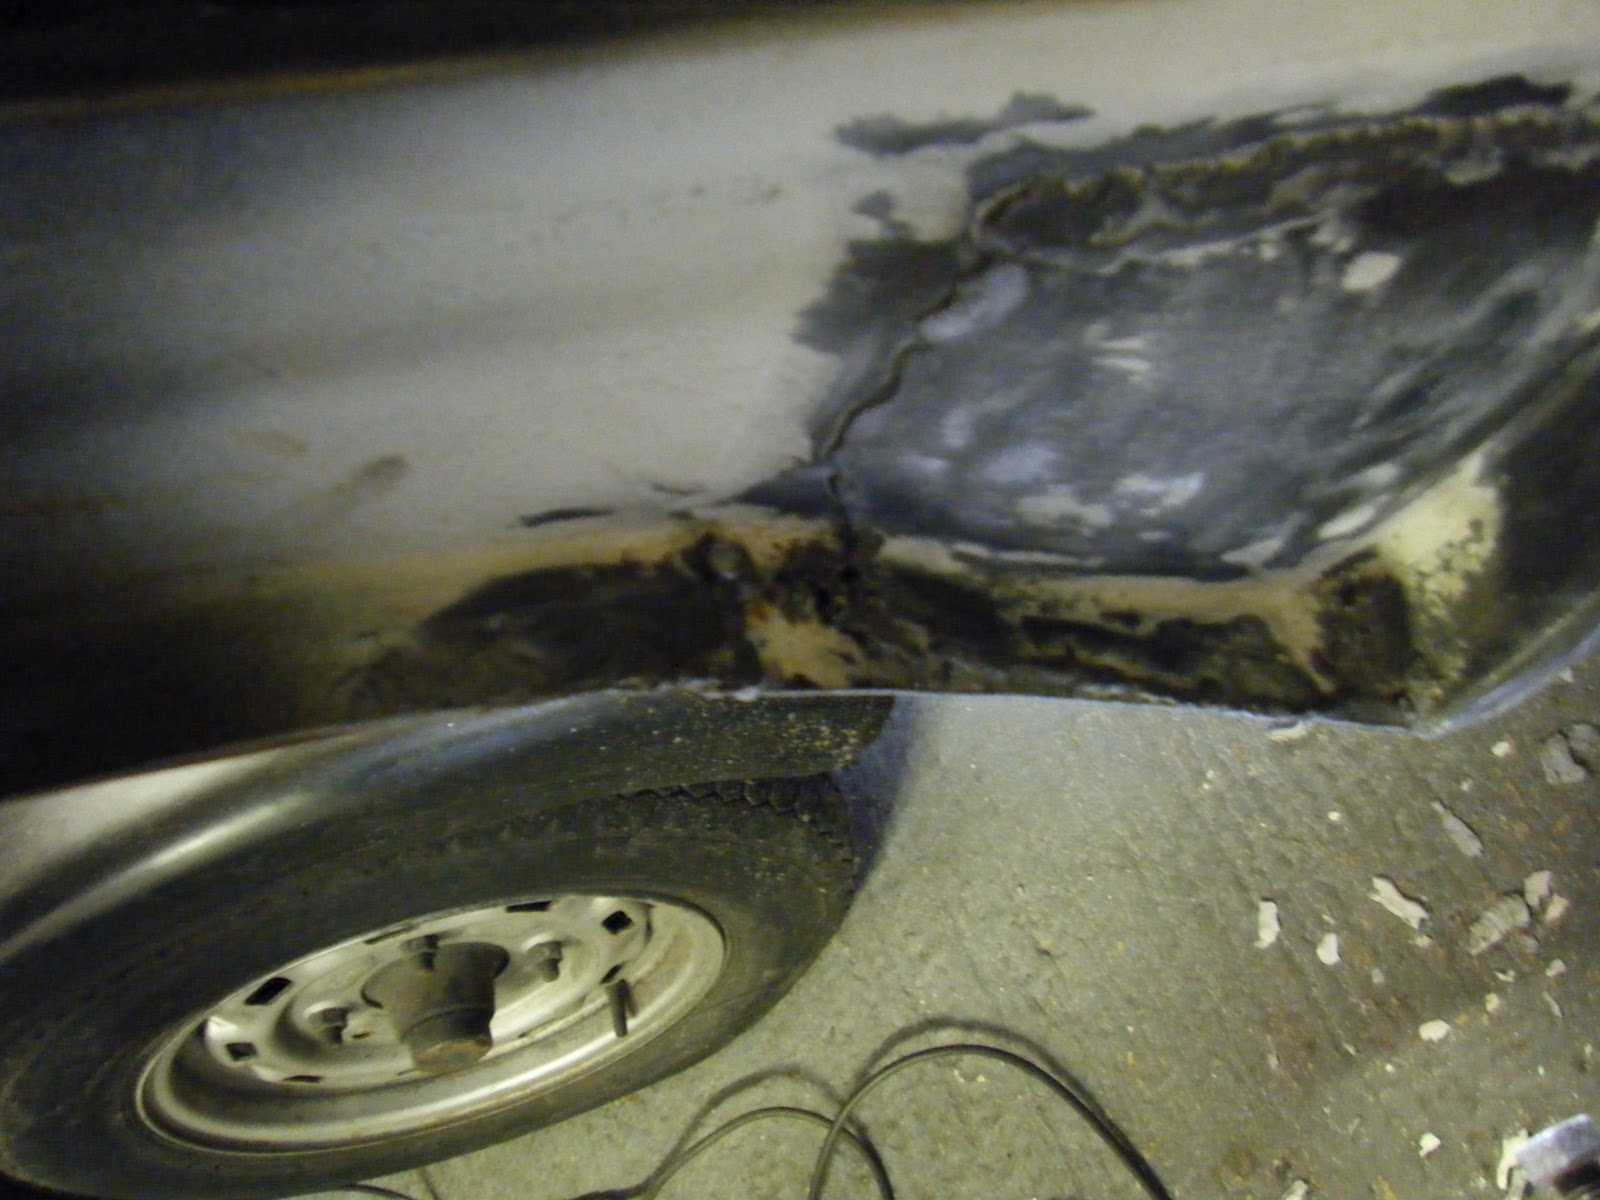
There is a lot of filler in the body and, given the quality of welding I can see, I want to know what is underneath it all, so this is the start of removing it, assessing what repairs have been done before and completing repairs to the standard I want. I also want to put some strength back in the body as soon as possible. With both these thoughts in mind I'm starting at the rear. I'll put in some rear cross members (currently missing) but before doing this I need to look at what is underneath the filler and seam sealer shown below.


Most of what is covering the repair here is seam sealer so its a bit tricky to remove. I resorted to using an old wood chisel to "cut" it off and then removed the remainder with a wire brush on the angle grinder (this tended to melt the remnants rather than actually brush it away).


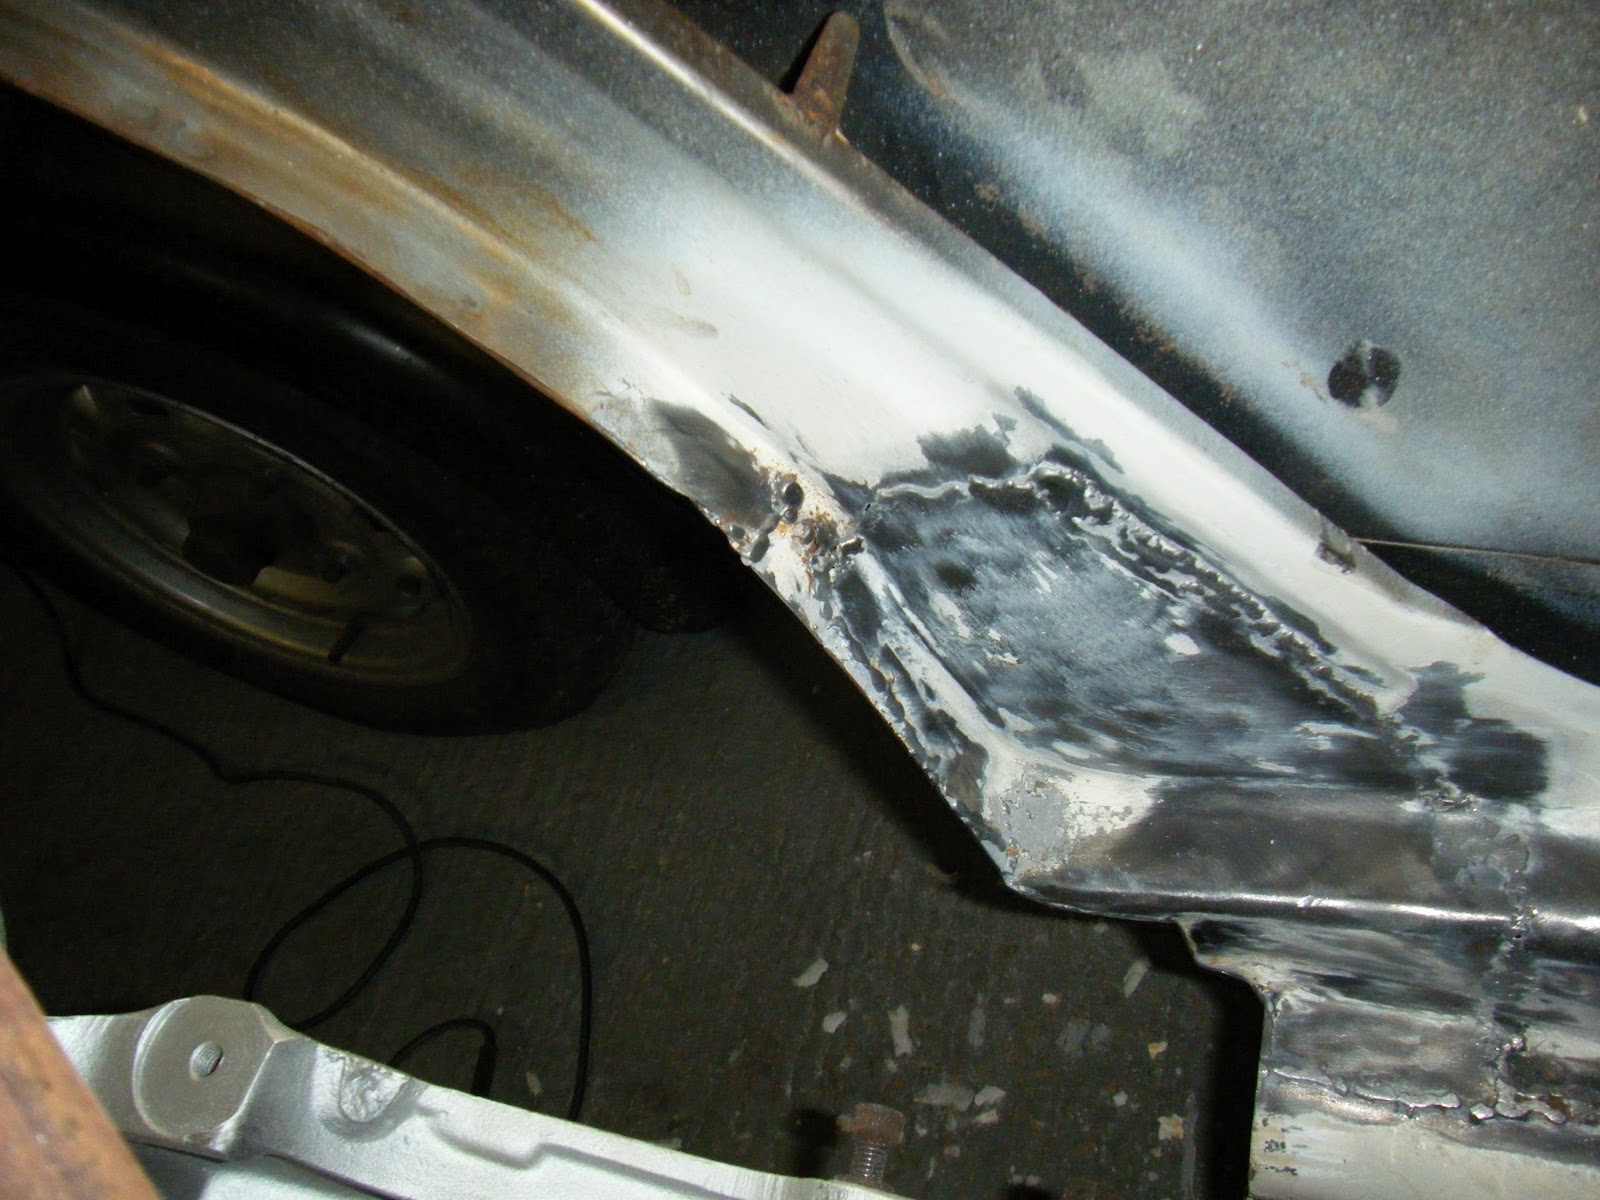
First bit of poor repair found.


The rest of the repair doesn't look too bad but does look like a home made repair panel on this side so I'll replace this with OE metal.


Monday, 20 August 2012

Aligning the body

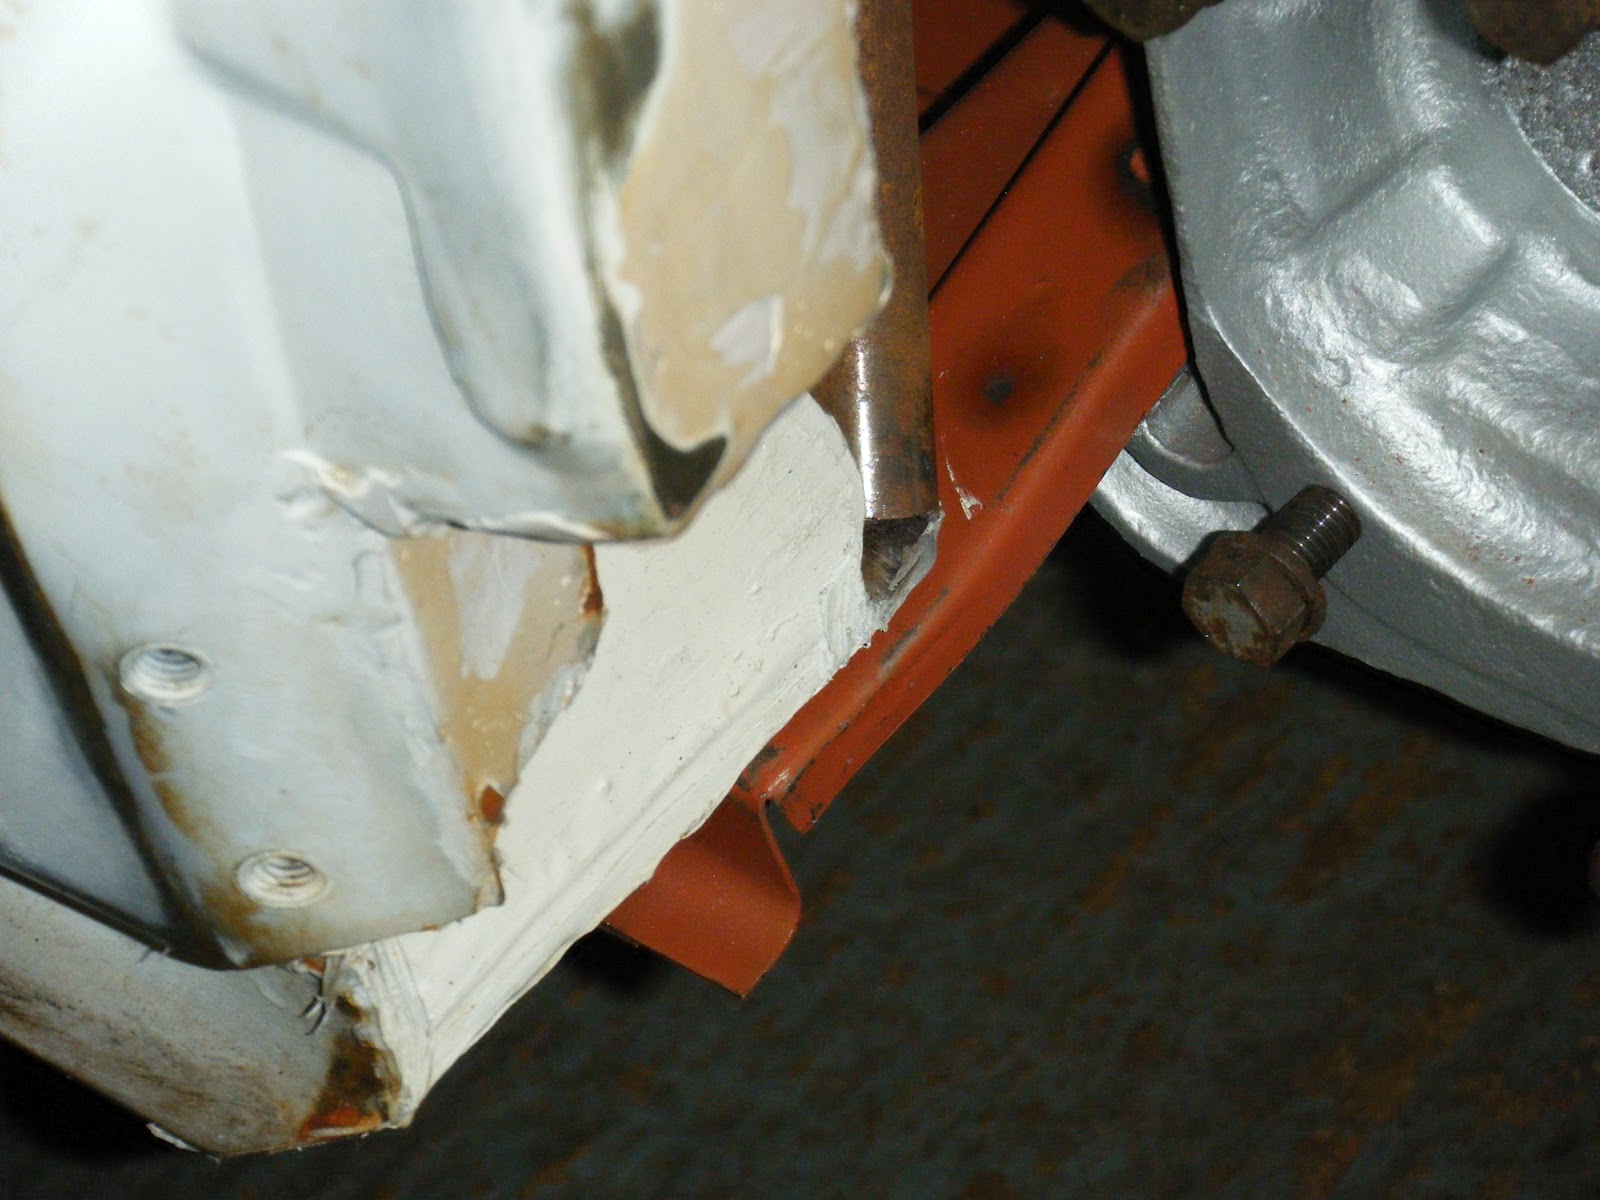
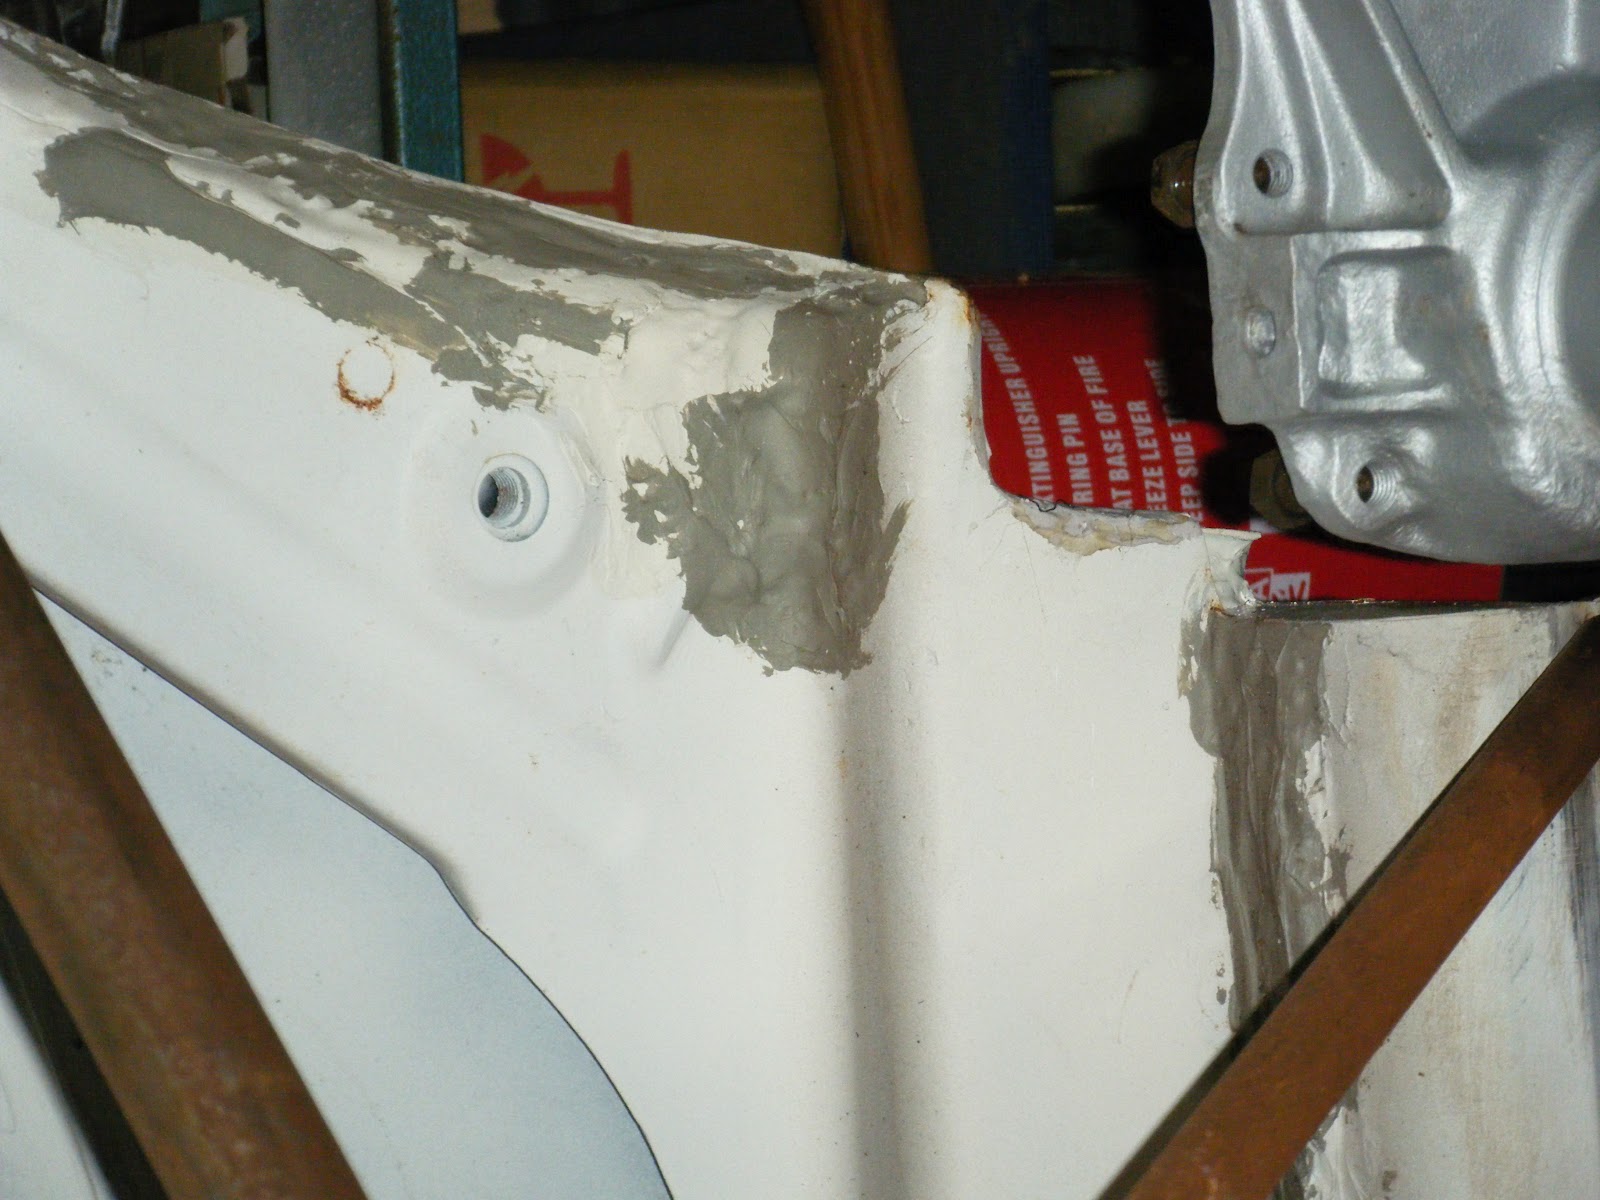
As mentioned last time the body would not sit correctly on the 'pan. This was because the pattern heater channels were fouling the seat runners as can be seen in the next two pictures.


Here you can see the extent of the problem this was causing. The body need to sit flush with the rear edge of the 'pan so that the mounting bolts can be fitted.


As I will not be using these heater channels the simplest solution was to trim the offending material away.


Final position of the body is shown below and enabled all the mounting bolts to be fitted and tightened.


Shot showing the body bolted in position and also some of the bracing I used before removing the body from the original 'pan. It's just some steel tube I had lying around welded in diagonally and triangulated to put some strength back. I'd also left it in place during transportation to the new house and whilst lifting the body onto the new 'pan, as the body has so much material removed it had become extremely flexible.

Sunday, 12 August 2012

Body on 'pan

I've been out and about collecting parts so not so much time in the garage. That said, again with the help of my poor wife, we managed to get the body onto the 'pan.


It wasn't quite positioned correctly (a bit too far forwards) and was being prevented from going into the right place by the pattern heater channels hitting the seat runners. This would need sorting out first and before the body could be bolted down and work started.

Sunday, 5 August 2012

Tidy up time

With the floorpan ready it was time for a bit of a tidy up in the garage. For the first time since we moved into the house and put the chassis spine in the garage, the garage door was opened. With the help of my wife the 'pan was moved out, the floor tidied up, the 'pan flipped right way up and then put back in but this time with the front end facing to the door. I also took the opportunity to move my trailer over a bit to give me slightly more space to work on the car which will only get wider as time progresses.


Here is what will be going on the 'pan. It looks quite good from the picture but needs a lot of work and I'll also be putting back a lot of the steel that was removed when it was cut to lighten it for racing. As I bought it like this (minus these doors which I bought new and cut the window frames myself) I want to see exactly what I've got before starting, so I'll be removing all the filler to check the welding quality and previous repairs. The welding I can see is not to the standard I want so I expect to be doing quite a bit of work here.

Sunday, 29 July 2012

Finishing up the floorpan

This week I'm finally finishing up the structural floorpan work.

First thing to do was to weld up the holes used for the Cleco pins. As these holes were also to be used as plug welds to hold the pan halves in place they were first drilled out to increase their diameter.


This handy tool is a copper sheet with magnets in each corner. It's used to place behind open holes when welding. The idea is that the sheet gives the molten welding material something to lay against and, being copper, the weld does not stick to it.


With the pan the right way up and the mig out I took the opportunity to weld up the holes in the framehorns, left when I removed the heater control conduits.


Plug welding the holes using the copper sheet in place underneath.


The pan was then flipped over to finish the welds on the underside nicely.


Here you can see a hole in the chassis spine that I'd not  yetwelded up. Visible through the hole is the copper sheet prior to welding.


Welds underneath completed.


Last bit of welding was the rear of the pan halves to the torsion tube housing.


All welding completed, welds cleaned up and primed.
Sunday, 22 July 2012

Welding the left pan half

Today was spent welding in the second pan half.

As before this was plug welded and the edge of the pan dressed as I went along.


Just have a few holes left to weld where the Cleco pins went in. I'll probably take these out slightly and plug weld again. Also need to flip the pan over and weld the rear where the pan meets the torsion bar housing.

Sunday, 15 July 2012

Back to it

Got a gas bottle refill yesterday so back to work...

After making sure I had both front and rear axles completely level I started plug welding the right side pan half in place.


For each weld I made sure I had good contact between the panel and the lip of the chassis spine to ensure a good weld. This was done by dressing the panel a little.


Here we have the pan half with all plug welds done. A quick clean up with a wire bush on an angle grinder and a coat of primer should keep the surface rust at bay. I'll clean up the welds after welding the left pan half.