Sunday, 25 March 2012

Finishing the first cover and starting the second

Not a massive amount done this time as I have a business trip to Spain that cuts short my weekend!

Final welding of the first cover. This was then primed as with other parts to keep the surface rust at bay. I also have to sort how to fix the cover in place yet but that will wait until I've completed the second cover.


Speaking of which, here you can see the second chassis spine opening I need to cover, and the section of donor panel I will be using. Same process applies as before starting with marking the panel roughly to size and then gutting to approximate length.


Whilst the repair panel is in better condition than the original you can see it will still need some work to remove various dents.

Sunday, 18 March 2012

...and more

Continuing with the cover, the ribbing on the original panel was marked onto the new sheet metal.


Cutting out the excess sheet metal and making sure at each step that I'd got the marking out right!


Here the sheet meat is fully cut out.


And clamped in place ready for welding.


Tack welded into place.

Sunday, 11 March 2012

Continuing with the Cover...

The idea is that I will make a cover where the original panel sits into and flush with the chassis spine. Then a raised lip around the edge will prevent it falling in and allow some form of sealing (probably a thin foam strip). First thing was to cut some sheet steel to size.


I left the ends a bit long so I could play around with exact length afterwards. Edges of this panel were joggled to give me the raised sealing lip.


The panel was then formed to give the same curvature as the original panel.


Next the original panel was aligned, ready to be trimmed so that it fits flush with the chassis spine.


The trimming took some time as I didn't want to remove too much material. You can see the corners were radiused to try and  prevent cracking due to chassis flex.

Sunday, 4 March 2012

Week off!

Sorry, no update this week as I've been working on other people's cars so no progress.

Hope to be back on the Beetle next week.

Sunday, 26 February 2012

First Chassis Spine Removable Cover

With the Framehead repairs complete it's time to move on to the underside of the chassis spine. As a reminder, I had cut two sections of thsi panel out; one at the rear due to the original panel being distorted due to jacking the car in the past and the other due to the need to remove rust from inside the chassis spine. A byproduct of this process is that I can route pipework and locate components within the chassis spine easily during the rest of the build. Whilst this process does affect the torsional strength of the chassis, as this is a race car the cage that is to be fitted later will put the needed strength, and more back.

Starting with the longer of the two holes, the edges were trimmed and neatened.


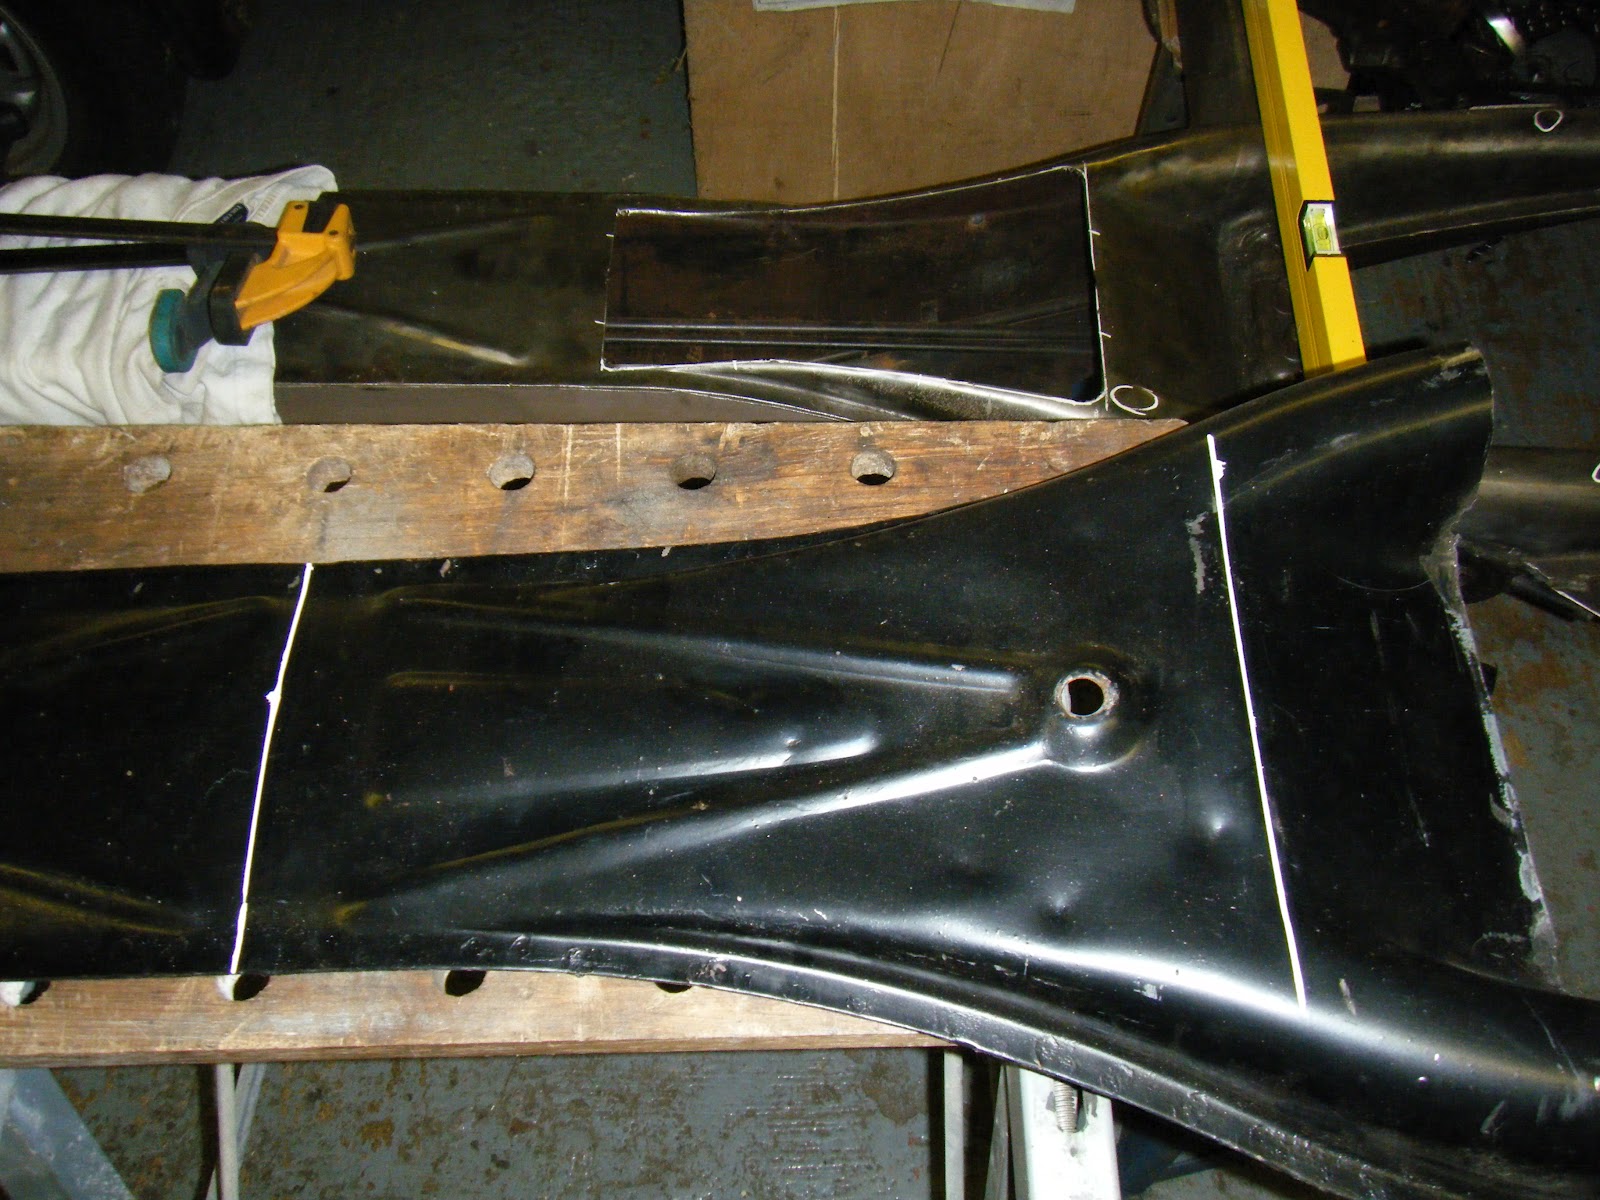
Here we have the two panel pieces removed from the original spine section and also a second, almost complete spine section panel that I caferully removed from another chassis. You can see all the spot welds along the edges of this panel that were drilled out to remove it!


Next the appropriate section was cut from the donor panel, leaving sufficient spare length at each end to allow for accurate trimming later.


The panel was then cleaned up using a wire brush on an angle grinder and laid in place to ensure it was right.

Sunday, 19 February 2012

Finishing up the Framehead

Into finishing up the framehead repairs this week.

Firstly the chassis spine was flipped over so it was right side up. Then a bit more welding.


 After that the welds were ground down. Masking tape was used to prevent the grindings going into the Napolean's hat and corroding later on.


Once cleaned up a coat of zinc rich primer was laid on to try and keep surface rust at bay until the full floorpan is painted.


Spine flipped over again and the welds ground down...


...and finally the underside was also primed.


One completed framehead repair!

Sunday, 12 February 2012

Welding up the Framehead Closing Panel

Lots of welding this week!

Fully welding the various parts of the closing panel after tack welding them into position.


 Plug welding where the original spot welds were drilled out. The last piece of the closing panel was finally trimmed to size and checked for alignment.


The last repair panel (the black one in the above picture) was cleaned up, correctly aligned and tack welded into it's final position.


It's was then fully welded, completing the welding from the underside.