Monday 27 August 2012

What lies beneath?

There is a lot of filler in the body and, given the quality of welding I can see, I want to know what is underneath it all, so this is the start of removing it, assessing what repairs have been done before and completing repairs to the standard I want. I also want to put some strength back in the body as soon as possible. With both these thoughts in mind I'm starting at the rear. I'll put in some rear cross members (currently missing) but before doing this I need to look at what is underneath the filler and seam sealer shown below.


Most of what is covering the repair here is seam sealer so its a bit tricky to remove. I resorted to using an old wood chisel to "cut" it off and then removed the remainder with a wire brush on the angle grinder (this tended to melt the remnants rather than actually brush it away).


First bit of poor repair found.


The rest of the repair doesn't look too bad but does look like a home made repair panel on this side so I'll replace this with OE metal.


Monday 20 August 2012

Aligning the body

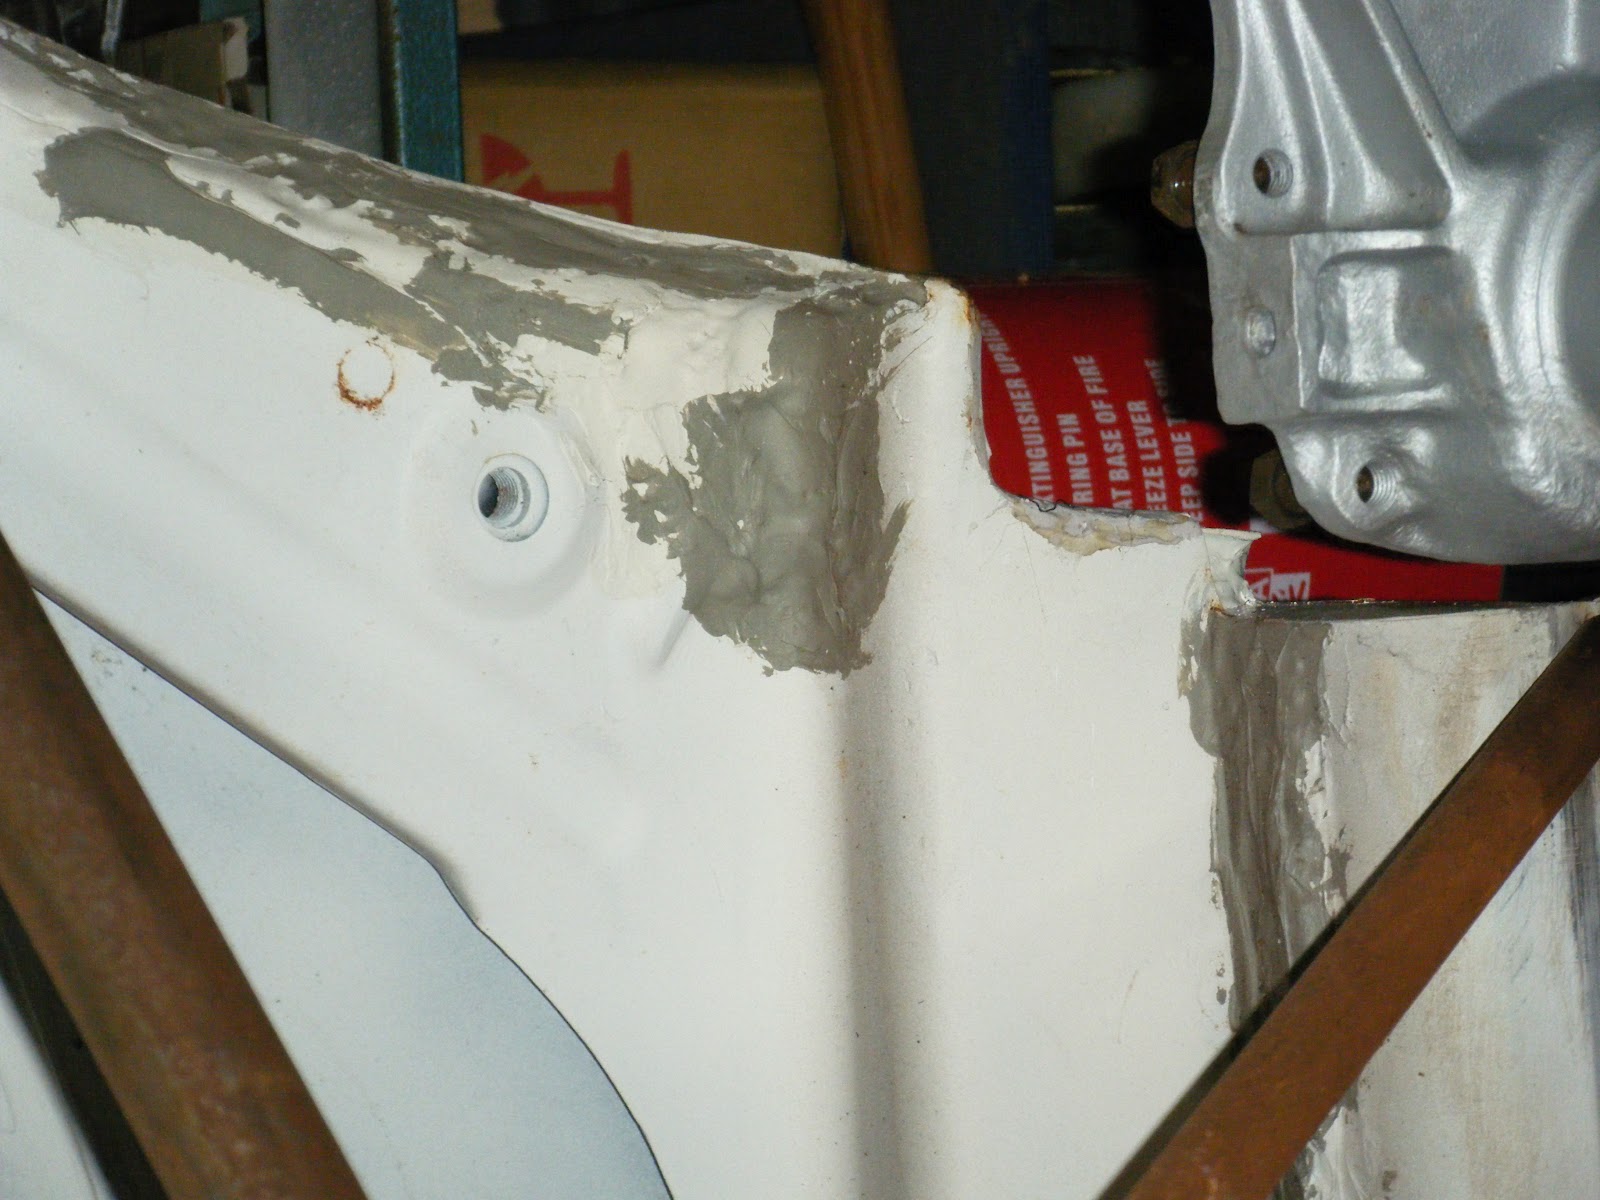
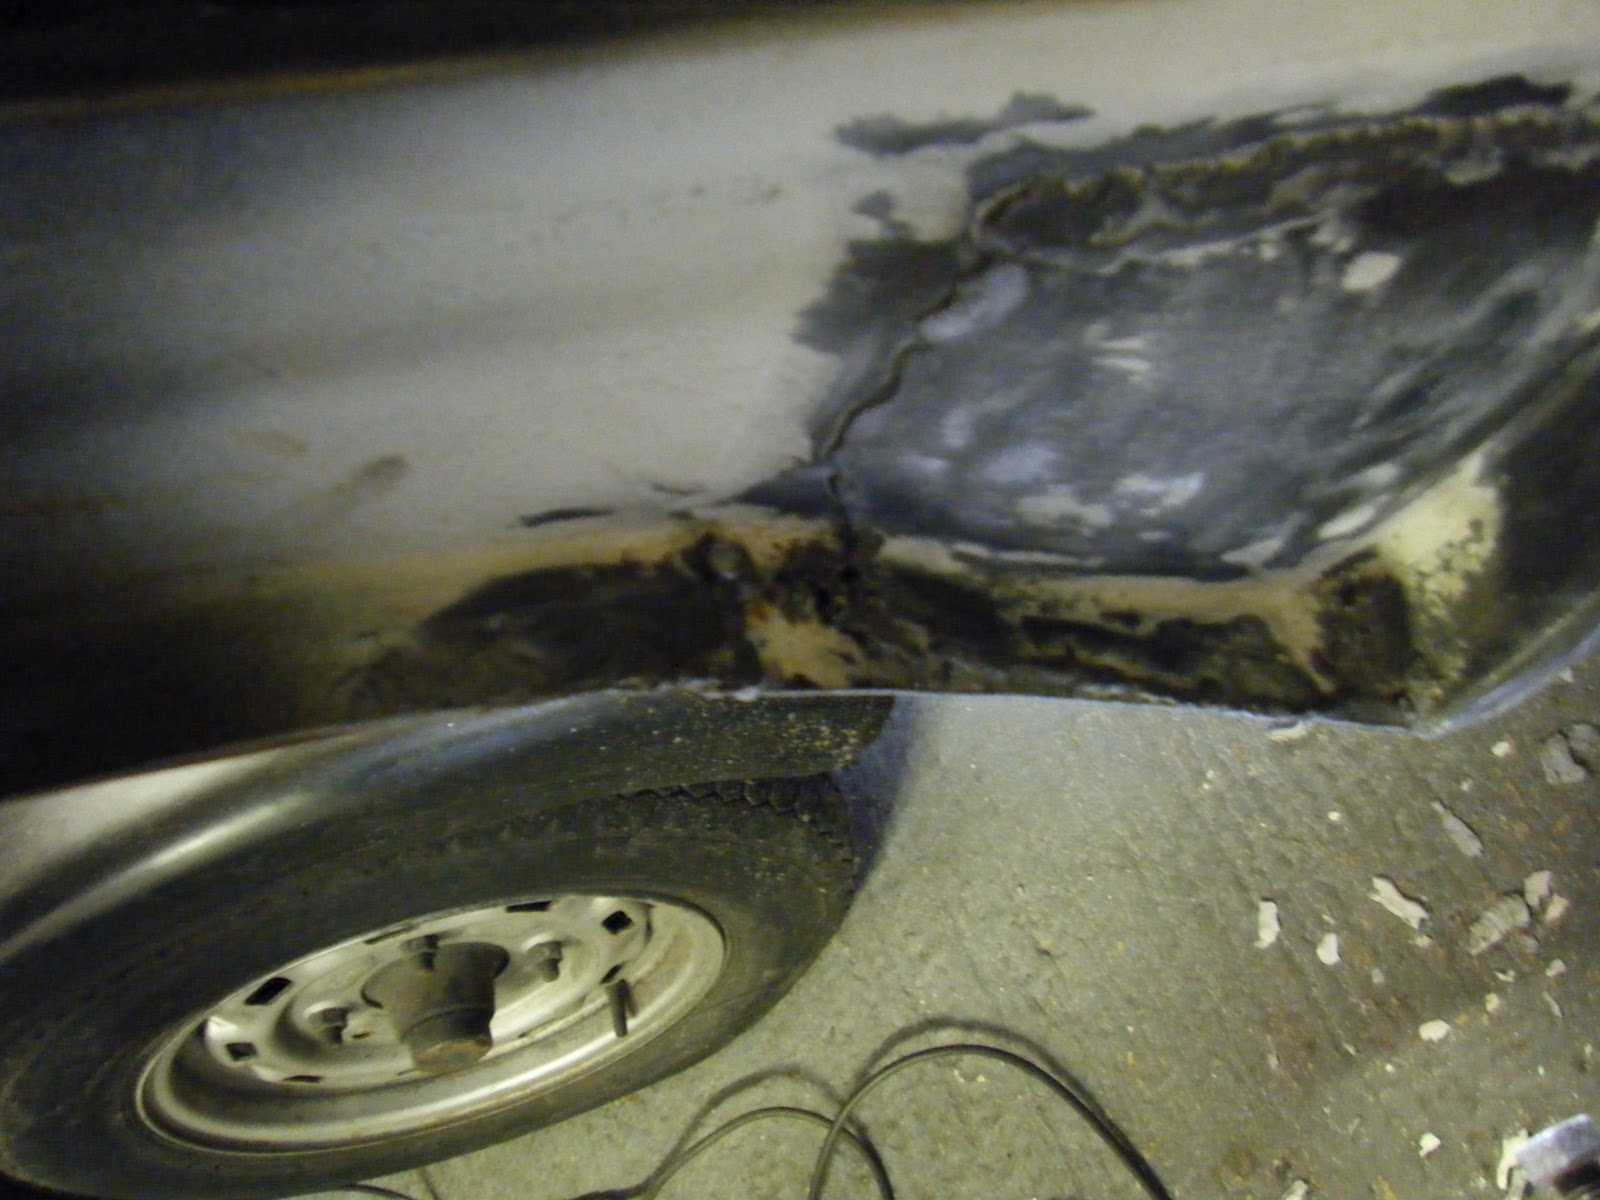
As mentioned last time the body would not sit correctly on the 'pan. This was because the pattern heater channels were fouling the seat runners as can be seen in the next two pictures.


Here you can see the extent of the problem this was causing. The body need to sit flush with the rear edge of the 'pan so that the mounting bolts can be fitted.


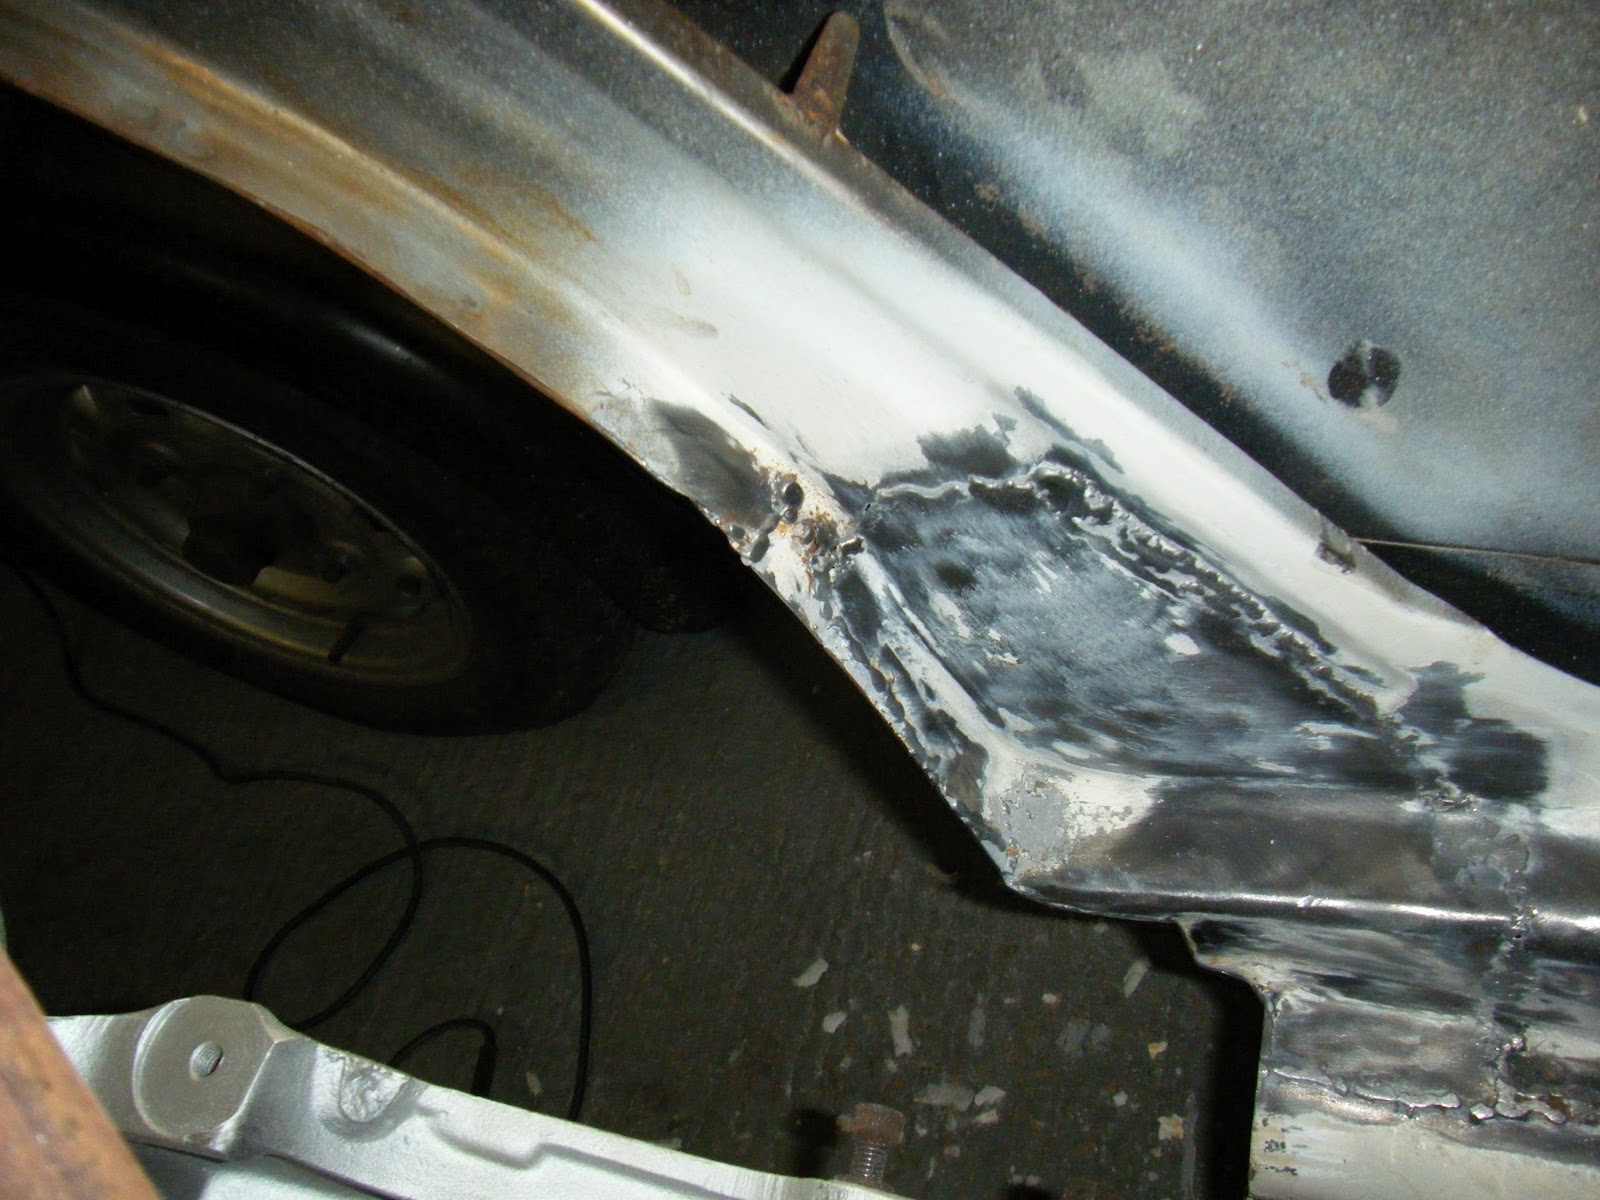
As I will not be using these heater channels the simplest solution was to trim the offending material away.


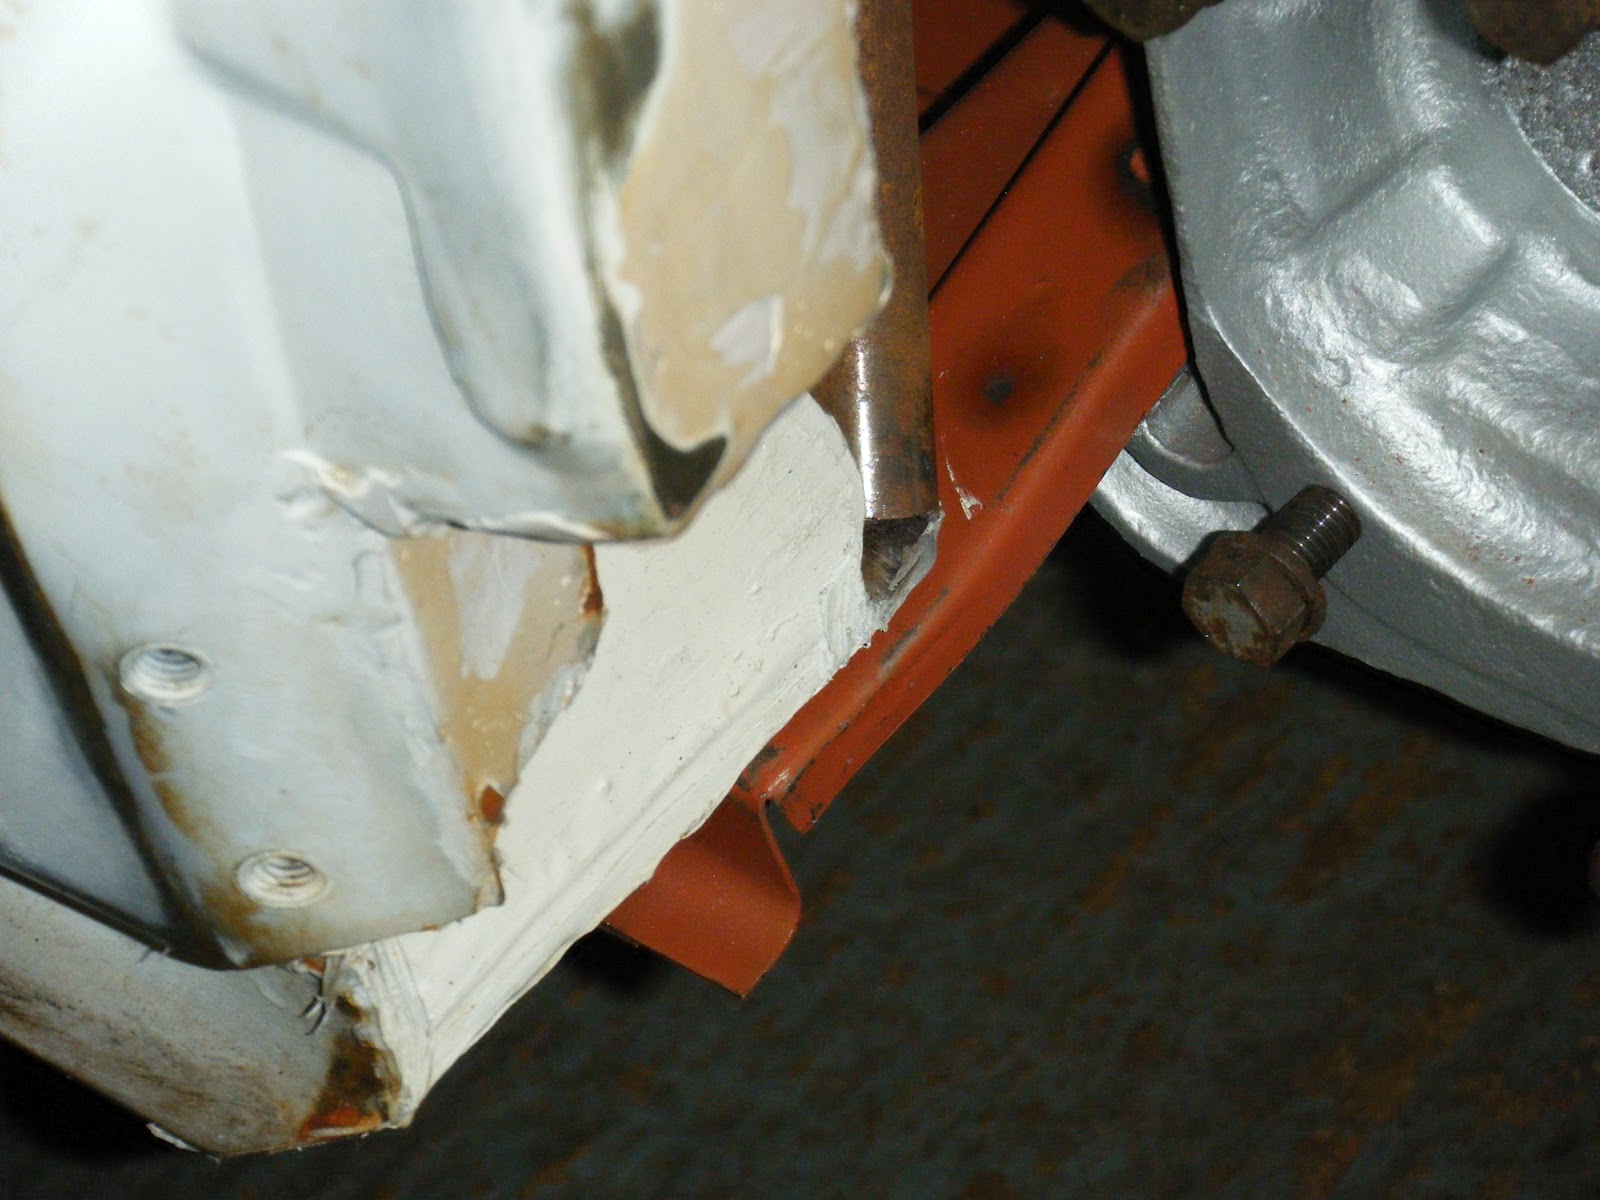
Final position of the body is shown below and enabled all the mounting bolts to be fitted and tightened.


Shot showing the body bolted in position and also some of the bracing I used before removing the body from the original 'pan. It's just some steel tube I had lying around welded in diagonally and triangulated to put some strength back. I'd also left it in place during transportation to the new house and whilst lifting the body onto the new 'pan, as the body has so much material removed it had become extremely flexible.

Sunday 12 August 2012

Body on 'pan

I've been out and about collecting parts so not so much time in the garage. That said, again with the help of my poor wife, we managed to get the body onto the 'pan.


It wasn't quite positioned correctly (a bit too far forwards) and was being prevented from going into the right place by the pattern heater channels hitting the seat runners. This would need sorting out first and before the body could be bolted down and work started.

Sunday 5 August 2012

Tidy up time

With the floorpan ready it was time for a bit of a tidy up in the garage. For the first time since we moved into the house and put the chassis spine in the garage, the garage door was opened. With the help of my wife the 'pan was moved out, the floor tidied up, the 'pan flipped right way up and then put back in but this time with the front end facing to the door. I also took the opportunity to move my trailer over a bit to give me slightly more space to work on the car which will only get wider as time progresses.


Here is what will be going on the 'pan. It looks quite good from the picture but needs a lot of work and I'll also be putting back a lot of the steel that was removed when it was cut to lighten it for racing. As I bought it like this (minus these doors which I bought new and cut the window frames myself) I want to see exactly what I've got before starting, so I'll be removing all the filler to check the welding quality and previous repairs. The welding I can see is not to the standard I want so I expect to be doing quite a bit of work here.